The Rubik’s Cube 3×3 is one of the most fascinating puzzles ever created. While it may seem complicated at first, learning the right trick to solve a cube can make the process much easier. Whether you’re a beginner or someone looking to improve your solving time, this guide will introduce you to the best methods, algorithms, and speed-solving techniques to become a Rubik’s Cube solver 3×3 in no time.
Understanding the Basics of a Rubik’s Cube 3×3
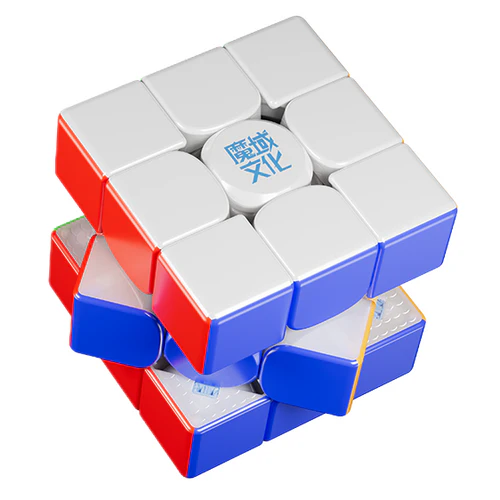
Before learning the best trick to solve a cube, it’s important to understand the structure of a 3×3 Rubik’s Cube.
1. Cube Structure:
✔ Centers (6 fixed pieces) – They never move and define the color of each face.
✔ Edges (12 pieces) – Each has two colors.
✔ Corners (8 pieces) – Each has three colors.
The goal is to align all the colors on each side using efficient solving techniques.
Step-by-Step Guide to Solving a Rubik’s Cube
1. Solve the White Cross (First Layer Edges)
The first step in solving a Rubik’s Cube 3×3 is to form a white cross by aligning the four white edge pieces with their corresponding center pieces.
Algorithm to Correct Edge Orientation:
✔ F R U R’ U’ F’ (Repeat as needed)
👉 Pro Tip: Start by solving the white edges without focusing on the corners yet.
2. Solve the White Corners
Once the white cross is completed, position the white corner pieces correctly. Use the R U R’ U’ algorithm to move corners into place.
👉 Pro Tip: Rotate the bottom layer to position a corner correctly before applying the algorithm.
3. Solve the Middle Layer Edges
Now, focus on solving the middle layer edges. Move non-yellow edge pieces to the correct position using these algorithms:
✔ Move the edge to the right: U R U’ R’ U’ F’ U F
✔ Move the edge to the left: U’ L’ U L U F U’ F’
👉 Pro Tip: Align edge pieces before executing the algorithm to minimize unnecessary moves.
4. Create the Yellow Cross (Last Layer Edges)
The next step is forming a yellow cross on the last layer. Use the algorithm below until a yellow cross appears:
✔ F R U R’ U’ F’
👉 Pro Tip: Don’t worry about the corner pieces yet, just focus on forming the cross.
5. Position the Yellow Corners Correctly
Now, we need to move the yellow corners to their correct locations. Use:
✔ R U R’ U R U2 R’
👉 Pro Tip: If a corner is in the right place but not oriented correctly, repeat the algorithm until it rotates properly.
6. Final Step: Solve the Last Layer
The final step is to position the last-layer edges and corners correctly. Use the PLL (Permutation of Last Layer) algorithms to complete the cube.
✔ For edge cycle: R U R’ U R U2 R’
✔ For full cube solution: U R U’ L’ U R’ U’ L
👉 Pro Tip: Memorizing a few PLL algorithms can significantly speed up your solving time.
Speedcubing Tricks for Solving Faster
1. Learn CFOP (Fridrich Method)
The CFOP (Cross, F2L, OLL, PLL) method is the best way to speed up solving time.
✔ Cross: Solve the white cross efficiently.
✔ F2L (First Two Layers): Pair edges and corners together for better efficiency.
✔ OLL (Orient Last Layer): Get all yellow pieces facing up in one step.
✔ PLL (Permute Last Layer): Move last-layer pieces into place in one go.
2. Use Finger Tricks
✔ Minimize Cube Rotations – Keep the cube stable while solving.
✔ Use Double Flicks – Faster U and U’ moves with index and middle fingers.
✔ Practice Turning Accuracy – Avoid unnecessary corrections.
3. Choose the Right Cube for Speed Solving
✔ Get a Magnetic Speed Cube – It improves control and stability.
✔ Use Lubrication – Reduces friction and enhances turning speed.
✔ Adjust Cube Tension – Helps with smoother movements.
Common Mistakes & How to Avoid Them
Even with practice, many beginners make mistakes that slow down their solving time. Here’s how to fix them:
✔ Not Planning the Next Move – Always look ahead while solving.
✔ Over-Rotating the Cube – Use minimal cube movements to stay efficient.
✔ Forgetting Algorithms – Memorize key moves for faster solving.
✔ Using a Stiff Cube – Invest in a quality cube for better performance.
Final Thoughts
Mastering the Rubik’s Cube solver 3×3 requires patience, practice, and the right tricks. By following this step-by-step guide, applying finger tricks, and learning advanced CFOP techniques, you can drastically improve your solving time.